Remove Mould from Floors and Carpets

Mould can be damaging to carpets, so it’s important to clean them regularly. This article explains the best methods and cleaning products !


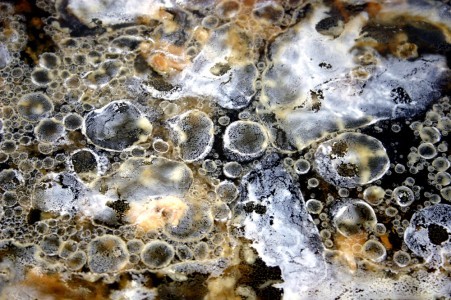
Mould is a nasty fungus that destroys surfaces. It produces a musty smell, and it is generally bad for your health – particularly if you have allergies, asthma, or a compromised immune system. It’s important, therefore, that you deal with any mould issues at home as soon as you can. Here’s a step-by-step guide for mould treatment of carpets and floors.Mould in House – Ways to Prevent MouldMould loves warm, moist conditions, and it spreads very quickly via airborne spores, so it can be very difficult to eradicate from your home. Often the root cause is a leak or excess humidity. To prevent mouldy floors and carpets you should:

• Keep all rooms in the house well ventilated – use dehumidifiers if necessary to reduce moisture in the air.

• Avoid laying carpet in the bathroom; use tiles or other non-porous materials for bathroom floors.

• Hang bathmats and towels up to dry after each use. Launder these in a hot cycle with a vinegar rinse at least once a week to sanitise them.

• Make sure that damp items are never directly in contact with floors for any length of time – the bottoms of indoor plant pots, for example.

How to Remove Mould from Carpets

Mould is very damaging to carpets, as it eats away the fibres and is very hard to dislodge. If your fitted carpet has been wet for longer than a couple of days – from a flood, for example – or if the affected area affected is larger than 2 square metres, you should consult a carpet cleaning professional. Always fix the causes of mould (e.g. a leaky pipe or broken window) before you attempt to deal with any stains – otherwise, the problems will just reoccur.

1. Put on protective clothing, goggles, and a facemask – attempting to remove the mould will disperse the spores and these could be damaging to your health if you breathe them in.

2. Be aware of ventilation concerns – make sure doors are closed to prevent mould spores from entering the rest of the house, but keep the windows open to encourage air flow.

3. If the carpet is removable, take it outside and leave it in bright sunlight to dry out for 48 hours. If it is fitted, turn on the overhead lights, pull up the carpet up from the floor approximately 50 cms more than the affected area; remove any soaked padding or lining; and dry the carpet out by using a fan, humidifier, or the blow function on a vacuum.

4. Next, take a stiff brush and sweep as much mould debris from the front and the back of the carpet. Also go over the area where the carpet was situated. Then vacuum or steam-clean all areas.

5. Next, apply anti-mould spray to the carpet. Follow the instructions on the label. You could also use one of the alternative cleaning products listed below. Make sure the mould spray soaks to the root of the fibres and that you apply it on both sides of your carpet.

6. Scrub the carpet on both sides and leave to dry. Most anti-mould treatment should not be rinsed out.

7. Apply an anti-fungal solution to the floor where the carpet was situated and leave to dry out.

8. Re-apply the mould spray on all areas and let it dry out again.

9. Continue to run a dehumidifier in the room for a couple more days to get rid of any residual spores.

10. Be sure to douse all equipment used in anti-fungal solution immediately to prevent the spores from escaping into other areas of the house.

How to Remove Mould from Wooden Floors

1. Use a scraper or blunt knife to remove mould from the top of the wood and vacuum up.

2. Sand the area down and apply an anti-fungal treatment, according to the instructions on the label. Let air-dry, then re-sand and reapply.

3. Let the area dry thoroughly. Stain and seal as appropriate.

What Anti-Fungal Solutions Can I Use?

Soap and water will never solve a mould problem alone. Other than a shop-bought anti-mould spray that is tailored specifically to suit the affected area, you could use the following products:

Bleach or Hydrogen Peroxide

Though bleach is commonly thought to kill mould, it is only really effective in stopping mould growing on non-porous materials, like tiles. The same goes for hydrogen peroxide. Both these chemicals can be extremely corrosive, so make sure to check whether they are compatible with your floor. Mix a solution of 1 part bleach or hydrogen peroxide to 8 parts water. Leave to soak and then dry.

Vinegar and/or Baking Soda

Vinegar doesn’t kill every single type of mould, though it does slow down its development. Baking soda has the same effect but is also a very effective odour remover. Use vinegar neat and leave it to soak for an hour for full effect before rinsing out. Mix a paste of baking powder and warm water, apply and leave to soak, then brush or vacuum off.

Tea-tree and/or Grapefruit Seed Oil

Both of these oils have long been championed for their anti-fungal and anti-bacterial properties, and many supporters of natural remedies believe they are effective in combating mould. Add 1 tsp of tea-tree oil, or 10 drops of grapefruit seed oil, to a cup of water and add to a spray bottle. Then, apply the product to the affected area, wipe the excess off with a cloth, and leave to air-dry.
Computer Cleaning: How to Clean Your Computer and Keyboar

Looking for advice for how to clean your computer? Is your keyboard a bit dirty? Read on to find out how to clean your computer, keyboard, mouse, & computer screen!


The next time you’re cleaning the house, take a moment to consider what you haven’t scrubbed. Surprisingly, many of us neglect to tackle the single dirtiest objects in our homes: our electronic devices. Because they’re almost in constant touch with our hands – and because they tend to have tiny recesses in which moisture and dust can easily become trapped – computer keyboards, phones, and other peripherals are usually teeming with bacteria and other nasties. But because they’re particularly sensitive, they require special care and attention when cleaning. Here are some easy ways to clean your electronic devices and cleaning products you can use.Cleaning your Computer Keyboard

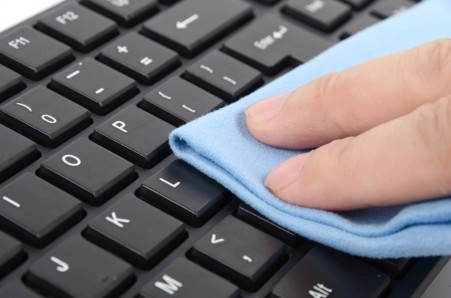
It’s easy to clean your computer keyboard. But, remember (especially if it’s a laptop) to take care with any liquid cleaning products, and these can severely damage the device and invalidate warranties. Always turn off your computer and disconnect the keyboard (if possible) before cleaning.

• First, begin by turning the keyboard upside down and gently but firmly tapping the underside of the keyboard. This will dislodge any larger particles of dirt.

• You should then go over the keyboard with a can of clean compressed air (which you’ll be able to find in most specialist computing stores), spraying between the keys to loosen and dislodge any other debris.

• You can then remove this loosened dirt with a hand-held vacuum cleaner.

• Finally, to remove finger-oils and other undesirable substances from the surface of the keys themselves, make a diluted solution of dishwashing detergent. It’s vital you don’t use harsher cleaning solutions in this step, as they will damage your hardware.

• Once you’ve got this solution ready, dampen a piece of cloth with it, and, making sure it is not too wet, gently clean the surface of your keys.

• Wait for the keyboard to completely dry before using.

How to Clean a Computer Mouse

More modern optical mice generally require less cleaning, as they are fully self-contained and have fewer removable parts. Periodically, it may be a good idea to go over the surface with diluted detergent and to blast some compressed air in between the buttons.

If you’re using the older rollerball style mouse, here are some basic instructions for cleaning it. First make sure to check the instructions that came with your mouse for any advice.

• Carefully remove the ball and roll it gently in your dampened cloth with either dishwashing or laundry detergent.

• Set it aside and allow plenty of time to dry.

• Next, look inside the cavity where the ball normally rests, and you’ll see a set of rollers.

• Moisten a cotton bud in isopropyl alcohol (again, obtainable at most electronic retailers) and gently drag it over the rollers to remove any excess dirt.

• Make sure the rollers and the ball are all properly dried out, and then re-assemble the mouse.

Cleaning a Computer Screen or TV Screen

• Newer computer screens are especially sensitive, so be careful when touching them, and avoid applying too much direct pressure.

• Remember to always read the manual before cleaning your electronic device, and check the warranty as well.

• First, use a dry cloth (not paper towels, toilet paper, or anything similar) to gently wipe off the surface. Don’t try to remove stubborn dirt by pressing harder at this stage.

• If there’s persistent dirt, dampen the cloth with equal parts water and white vinegar, and have another go. This will dislodge the more recalcitrant material.

• Some manufacturers sell their own special screen cleaning solutions, but these are no more effective than the water/vinegar combination.

• As for the rest of the monitor, you can use any multipurpose cleaning product on a dampened cloth, but do take care not to let it come into contact with the screen!

Cleaning a Smartphone 

• Smartphones are easy to clean, and if they are entirely touch-operated, you can use the section on screen-cleaning. Remember to read the manual and warranty before you try cleaning your smartphone.

• Remember to turn your phone off before trying to clean it!

• Smartphones can actually be more thoroughly scrubbed than a computer screen because their screens are designed to take more consistent pressure.

• However, phone mouthpieces should be paid special attention, as they are absolutely filthy (by way of being in near constant contact with the human mouth). Go over these once or twice a week with an antibacterial wipe.

All Purpose Cleaners: How and Where to Use

Multi-purpose cleaning products – how and where should you use them in your home? Read on to learn about all purpose cleaners!


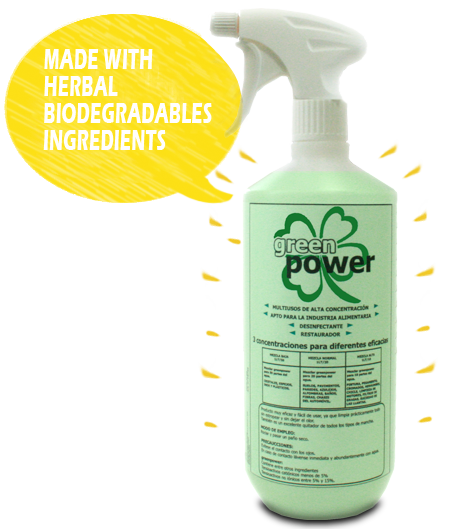
It sounds like a wonder product: the all purpose cleaner (or multi-purpose cleaner) that typically does away with many of the hassles associated with cleaning. No need to store five separate bottles of expensive cleaning products, when just the one will do! No need to worry if you’re using the right cleaner for the task, just spray away. But are there any limitations to an all purpose cleaner? Read on to discover more.What is an All Purpose Cleaner?A multi-purpose cleaner is designed to be used on many different surfaces and for a variety of cleaning tasks around the house. There is no ‘standard’ set of ingredients for the cleaner, but they typically can act as a disinfectant, detergent, de-greaser, and solvent.Different brands of cleaner will have a different balance of ingredients and might work better on some surfaces than others. If one brand isn’t as effective as you might like at cleaning part of your house, then try another.

Your all purpose cleaner is likely to contain powerful chemicals to get rid of dirt. Be sure to follow the directions on the label when using any cleaning product.

Additional Cleaning Supplies to Use 

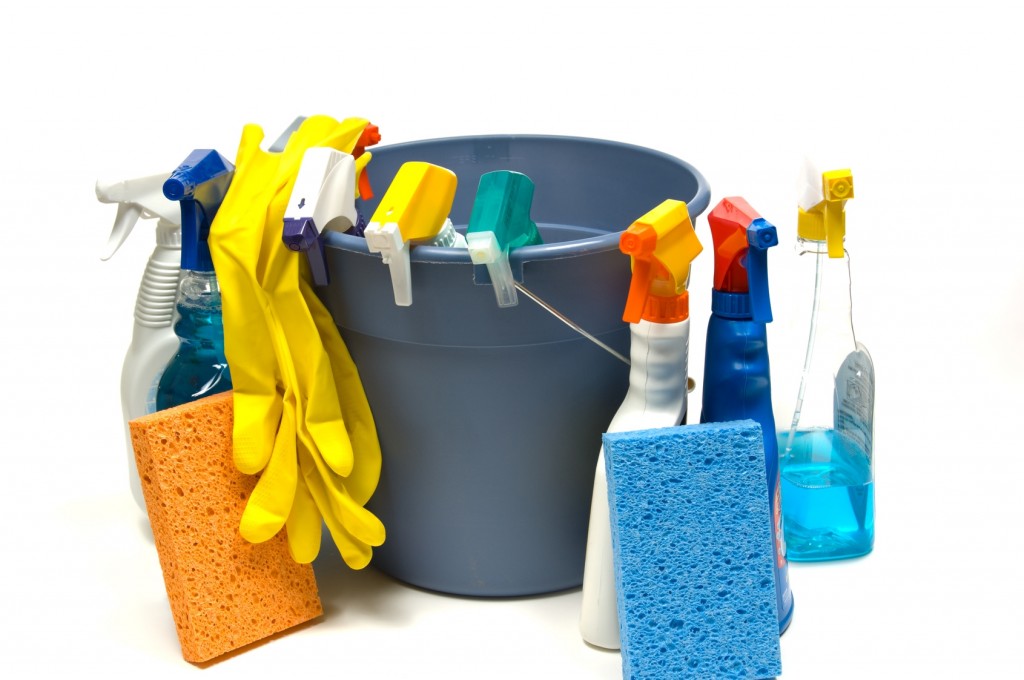
Remember that your all purpose cleaner can’t do its job alone – you will still need to buy the following cleaning supplies to tackle most jobs:

• Rubber gloves

• Disposable cleaning cloths

• Face mask (for cleaning in poorly-ventilated areas)

• A 5 litre plastic bucket

• Mop

Basic Cleaning Safety for Household Cleaning Products

When using any household cleaning products for the first time, don’t forget to read the label carefully and protect yourself while handling potentially corrosive or harmful chemicals. A few quick precautions will make the cleaning hassle-free and speedy!

Using All Purpose Cleaning Products to Clean Your House

• Removing dirt and buffing up glass is easy with a multi-purpose cleaner. Just spray on the solution, then, wipe it off with a dry cloth. Make sure to rub windows thoroughly after cleaning, because any solution that isn’t removed will create smear marks on the glass.

• You can use your all purpose cleaner to get rid of marks on painted walls, but be warned most all-purpose mixtures are abrasive and could take off some of the paint, too! Be sure to test out the cleaner on a small unobtrusive patch of wall before tackling the whole surface.

• Most all purpose cleaners are not suitable for use on wooden surfaces, including wooden floors and furniture. Make sure you check the label of the product before going anywhere near your antique mahogany chairs! It looks like this magic cleaner won’t replace all of our household cleaning products just yet.

• Since glass, laminate and steel surfaces can all be cleaned effectively, all purpose cleaners are frequently used in kitchens and bathrooms.

• The majority of multi-purpose cleaners also serve as disinfectants, so they can be used to wipe down food handling areas and inside the fridge.

• Your average all purpose cleaner can also be used to mop down tiles or linoleum flooring. Simply dilute the fluid in a large bucket of hot water – remembering to follow instructions on the bottle – and mop away..